Call 1-888-670-1652
Spire CoreDB Connect Error (2002) Connection timed out
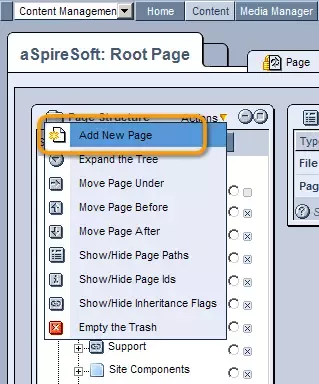
How To Create an External 403 PageThis section will teach you to create an external 403 page (such as the one that comes automatically installed with the system), which acts as the login page, error landing page, and successful login/welcome page for your entire site. The first step is to add a new page to your website's "Page Structure" hierarchy by selecting "Add New Page" from the "Actions" drop-down menu in the table's upper right-hand corner and completing the provided form.
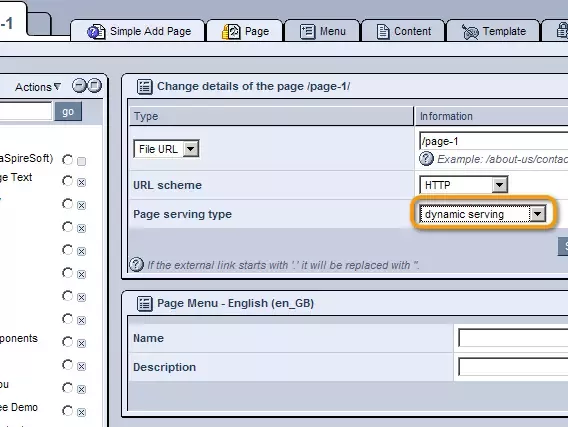
When completing the form, make sure to select "Dynamic Serving" from the "Page Serving Type" drop-down menu, as you will want the page to be generated from scratch each time it is accessed, in order to ensure that the content remains active and unique for each user, seeing as the page deals with sensitive information (i.e. passwords).
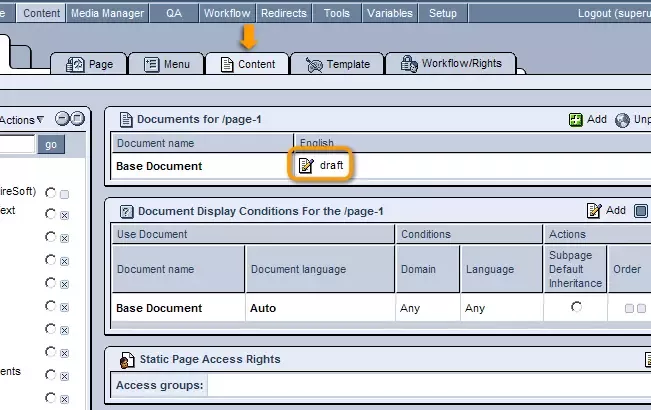
Once complete, click on the page's name within the "Page Structure" hierarchy and open its "Content" tab.
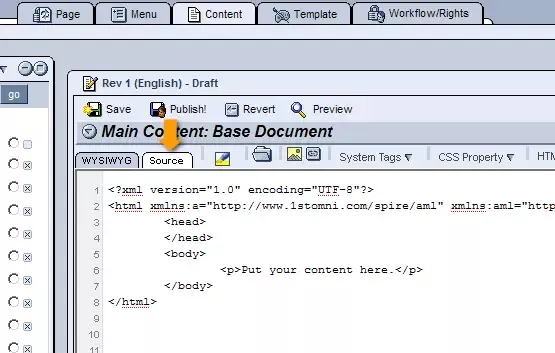
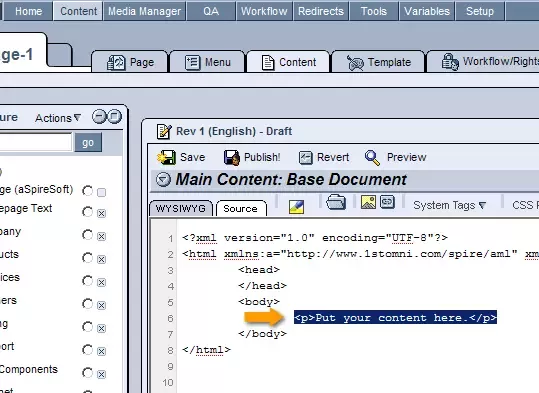
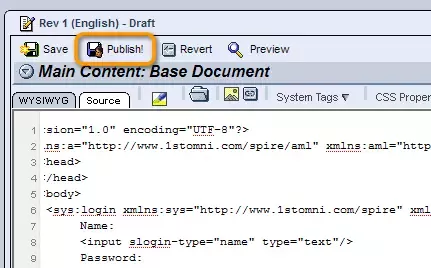
Within the "Content" tab, click on the "Edit" icon, and, in the editing window that appears, select the "Source" editor from the upper left-hand corner, where you can begin to create the page's content. Creating the Login Box:
In the "Source" editor window, place your cursor in the location on the page where you would like the login form to appear (generally somewhere between the <body> and </body> tags to ensure it is within the page's body).
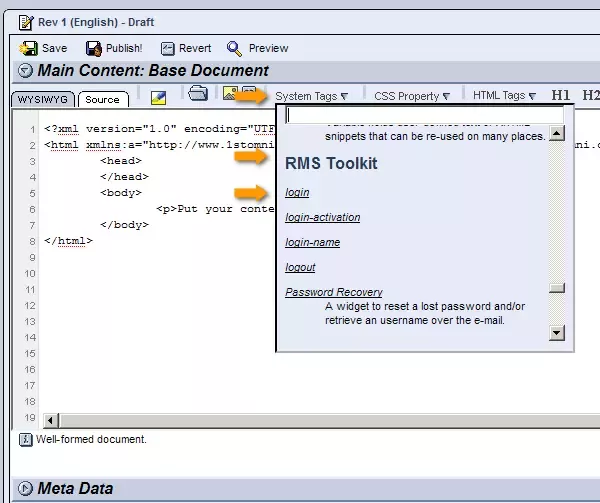
Once your cursor has been properly positioned, click to open the "System" drop-down menu located in the toolbar at the top of the window, and scroll down until you reach a section labeled "RMS Toolkit."
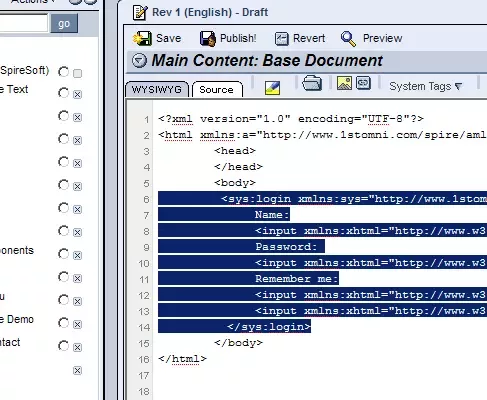
From here, click on "login" and the following tag will appear in the location at which you have placed your cursor:
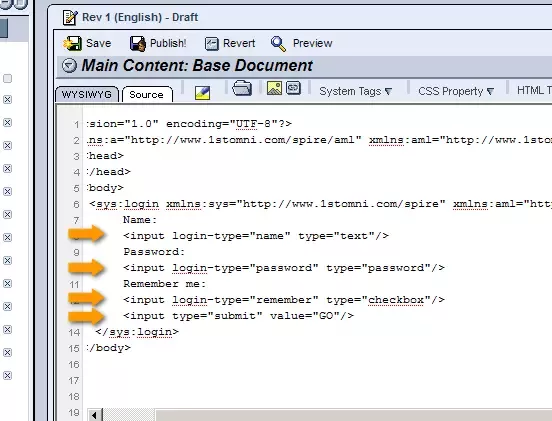
This tag will automatically insert a login form that consists of two text-boxes (one labeled "Name:" and one labeled "Password:"), a check-box labeled "Remember me:" that allows users to select whether or not they would like the system to remember their username, and a submit button labeled "Go." The labels for each field within the login form can be changed by simply replacing the default text of "Name:", "Password:", "Remember me:", and 'GO' (within the <input type='submit' value='GO'/> section) with whatever text you would prefer.
Using the tags found within the system drop-down menu, the following features can also be added to the login page:
Once the desired tags have been added to the page, simply click "Publish" at the top of the screen and the page will be added to your site.
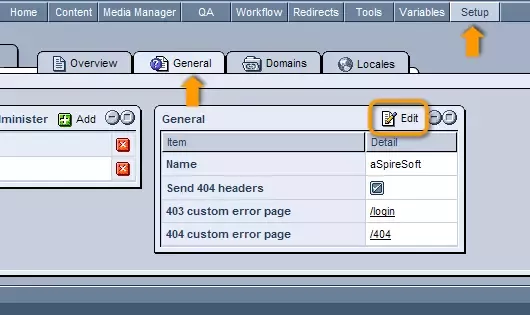
Making the Login Page the 403 Error Page:Once the page has been completed, you will need to specify it as your site's 403 page, so that whenever users try to access a page that is password protected, this page will be displayed, prompting them to log in so that the system can determine whether or not they have sufficient rights to access the desired content. In order to do this, you must access the CMS "Setup" tab. From here, select the "General" tab and, within the "General" table on the right-hand side of the screen, click on the
Once clicked, scroll through the "403 Custom Error Page" drop-down menu (which contains a list of all of the pages within your website) and select your newly created login page. !NEED SCREENSHOT OF SELECTING PAG FROM DROP-DOWN MENU Click "Update," and from now on, whenever users who are not logged in attempt to access password protected pages, they will be presented with your login page. |
Aspiresoft 2017 © All Rights Reserved. Privacy Policy