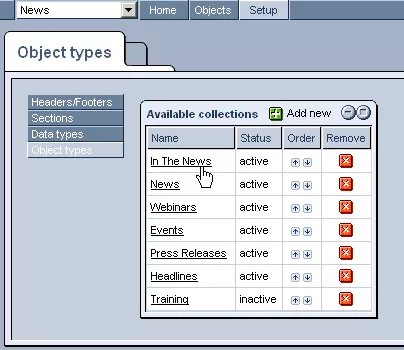
The "Object Types" section of the News & Events "Setup" allows you to create and manage all of the object types (events, press releases, in the news, etc.) which will be available in your personalized module.
In this section, you will be able to customize the names of each object type, the fields available in the forms used for their creation, and the particular designs used in their display on your website, so that they will fit the individual needs and preferences of your business.
Creating, Modifying, and Removing Object Types:
New object types can be created by clicking on the "Add New" icon in the upper right-hand corner of the "Available Collections" table, and then filling out the provided forms.

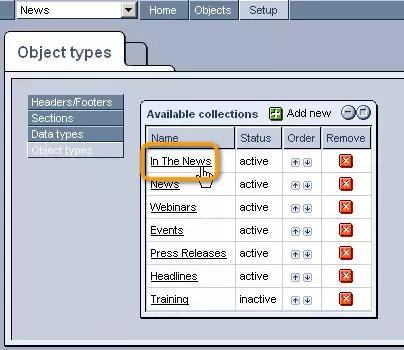
Once added to the system, object types can be modified at any time, by simply clicking on their names in the "Available Collections" table and altering their details as desired.
You can also change the order in which the object types are listed, by simply clicking on the arrow icons in the "Order" column to move individual object types up and down within the table.
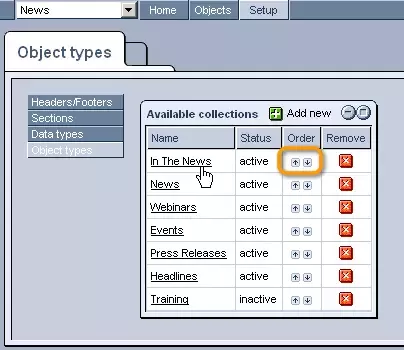
If, in the end, you decide to get rid of an object type entirely, just click on the "Remove" icon in its row of the table, and it will no longer appear as an option within the module.

In order to begin creating your own customized object types, information on how to complete the actual forms can be found in the following sections:
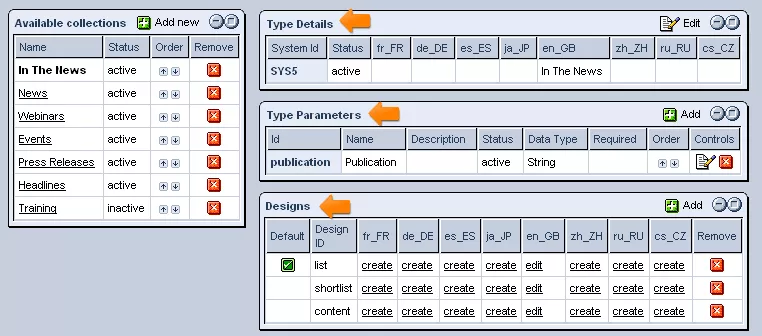
The first section to complete in adding or modifying object types is that of "Type Details."

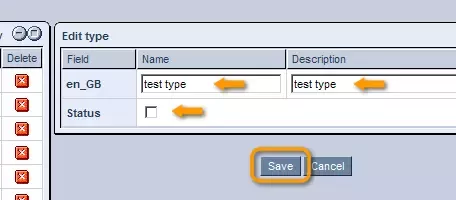
In the "Type Details" section you will be able to enter a unique name and description for the object type in each of the languages that your site supports.
Once you are done naming and describing the object type, you can decide whether or not to make it active, so that you can begin creating objects of this type to display on your website.
In order to make it active, simply check the "Status" box (otherwise, leave it empty).
Once you are done, click "Save," and your settings will be applied to the system.

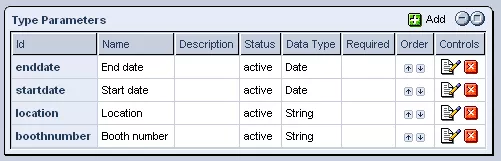
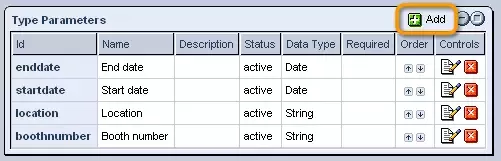
The "Type Parameters" section allows you to create and/or modify the fields that will be available in creating objects of this particular type.
Creating Parameters:
In order to add a new field to be included in the form used for creating and modifying objects of this type, simply click on the "Add" icon in the upper right-hand corner of the table.
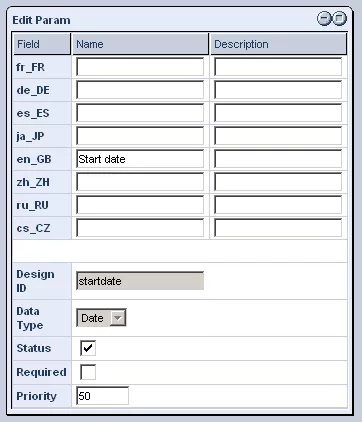
In the window that appears, you can first enter a name and description for the field in each of the languages that your site supports, as well as a unique design ID for the field to be saved under for reference purposes.
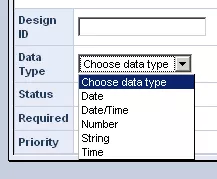
You can then specify the type of field you would like to create by selecting the desired option from the "Data Types" drop-down list (the options available can be set/modified in the
"Data Types" section of the News & Events
"Setup").
The next two check-boxes allow you to determine whether the field will become active and appear in the object type's creation form right away (by checking the "Status" box) and whether it will be required to complete the field when creating objects of this type (by checking the "Required" box).
Finally, you can enter a priority for the field, as well as a custom height and width for the field, should you wish to override the general design template.
Once you are done, just click "Save," and the field will be added to the list of "Type Parameters."
Modifying/Removing Parameters:
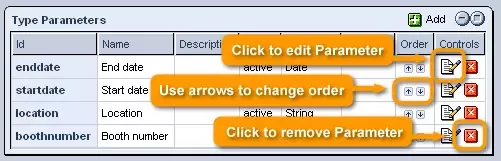
In order to modify an existing field, you can click on the "Edit" icon in its row of the "Type Parameters" table.
Alter the field's details as you wish, and then click on "Save" in order to bring the system up-to-date with the changes made.
Should you wish, you can also change the order in which the fields will appear in the object type's creation form by simply using the arrow icons in the "Order" column of the "Type Parameters" table to move individual fields up and down within the list.
Finally, should you, for whatever reason, decide to get rid of a field entirely, all that is needed is a simple click of the "Remove" button in that field's row of the table.
The "Design" section allows you to attach design templates to object types in order to determine the appearance of objects on your website.
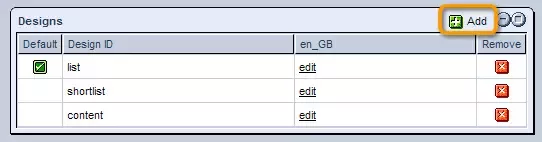
Adding New Designs:
In order to add a new design template, which could be created in the system's Design Editor, click on the "Add" icon in the upper right-hand corner of the table.
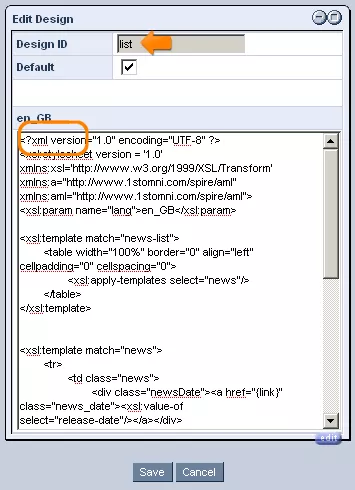
In the window that appears, simply enter the ID of the design template that you would like to be used in the display of objects of this type on your website.
In addition, you can click on the box labeled "Default," should you wish for the design template to be the default one used in displaying objects of this type.
Once you are done, click "Save," and the template will be added to the list of "Designs."
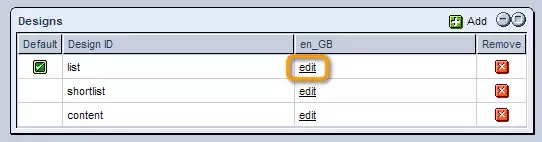
Modifying/Removing Designs:
Should you wish to modify an existing design template, you can click on the "Edit" link in its row of the "Designs" table.
You will then be able to alter the Design ID and default status as desired.
You will also have the opportunity to manually modify the template's content, with the help of the "Source" editor and all of its innovative features.
When you have finished making your modifications, click "Save," and the system will be updated to reflect the changes made.
Should you wish to remove a design template entirely, this can be done here as well.
Just click on the "Remove" icon in the desired template's row, and it will no longer be available for use in displaying objects of this type.