Call 1-888-670-1652
Spire CoreDB Connect Error (2002) Connection timed out
FilesOnce you have set up your category tree, you can begin adding the actual files which will be placed on your website for users to download. Adding New Files:In order to add files, one option, described in the
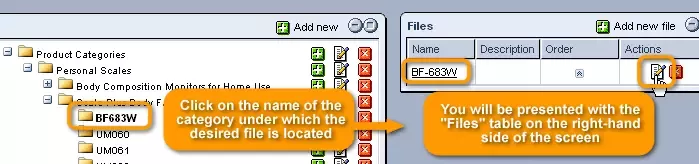
"File Categories" section, is to click on the name of the category to which you would like to add your file, and in the "Files" table that appears on the right-hand side of the screen, click on the
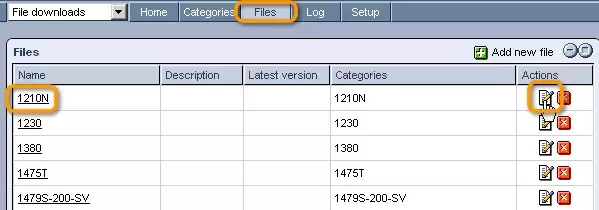
The other option is to select the module's "Files" tab from the top of the screen, and then click on the
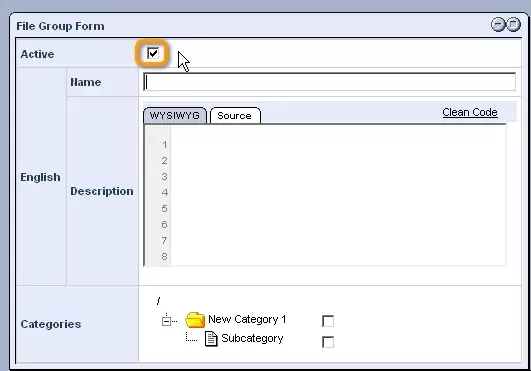
In either case, you will be presented with a "File Group Form" to fill out.
File Group Form:Should you wish for your file to be active and available for download once you place your download manager on your website, the first step is to check the box labeled "Active."
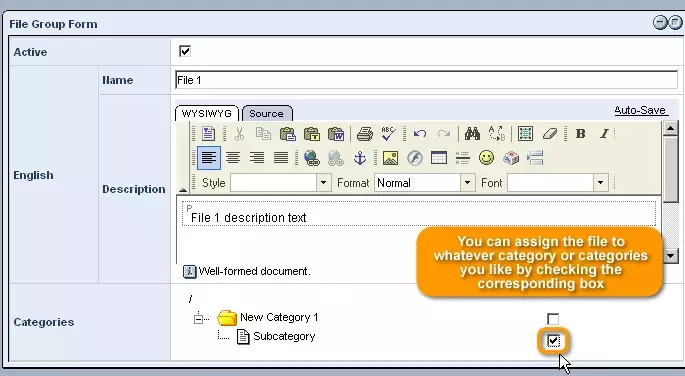
After this, you are free to enter a name and description for the file in each of the languages that your site supports, using whichever of the system's content editors you like.
Once you are done, you can assign the file to whatever category or categories you like by checking the corresponding box in the "Categories" hierarchy.
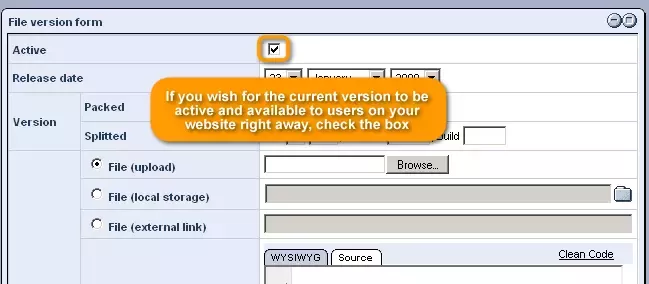
File Version Form:In the "File Version Form," directly below the "File Group Form," you will be able to upload the actual file. As the system allows you to upload multiple versions of a file, all information entered within this form will be specific to the version in question. The information entered in the "File Group Form" will apply to all versions of the file contained in the file group.
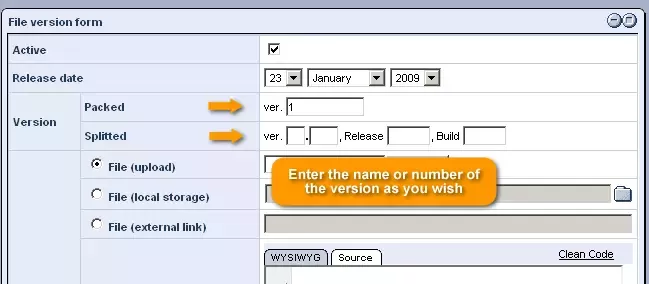
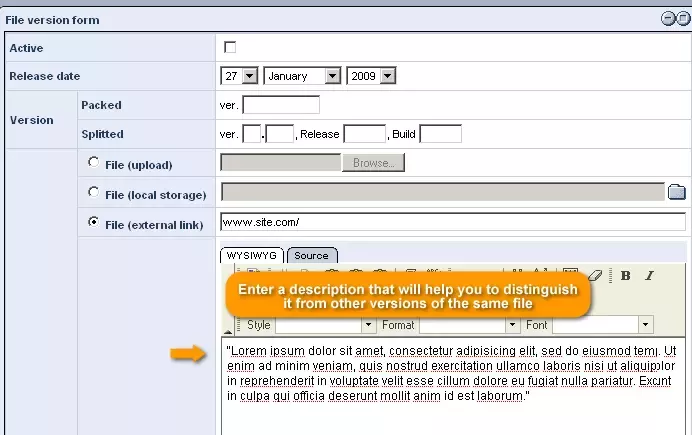
Should you wish for the current version to be active and available to users on your website right away, the first step is to check the box at the top of the form.
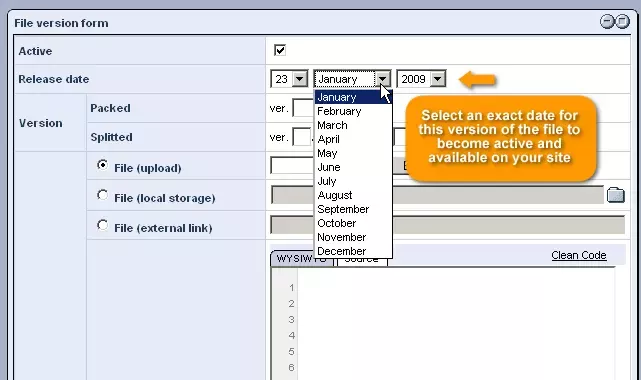
In the "Release Date" field below, you can select an exact date for this version of the file to become active and available on your site.
In the next field, labeled "Version," you can enter the name or number of the version as you wish.
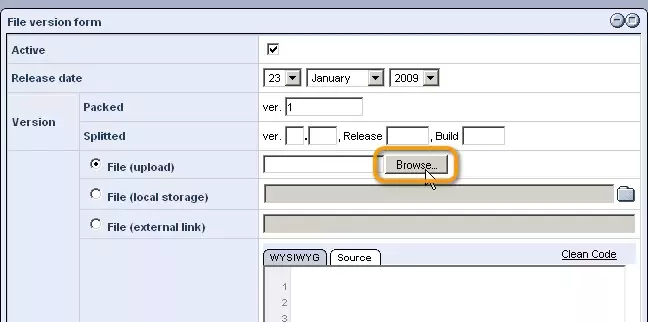
For the next step, in which you will specify the actual file, there are three options. The first (default) option is to upload a file from your hard-drive, and can be done by clicking on the "Browse" button to locate and select the desired file on your computer.
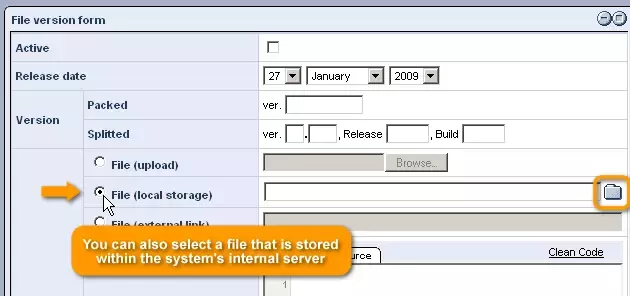
The second option, which can be selected by clicking on the button labeled "File (local storage)," allows you to select a file that is stored within the system's internal server. In order to specify the desired file, you can either enter the filepath into the provided field, or click on the
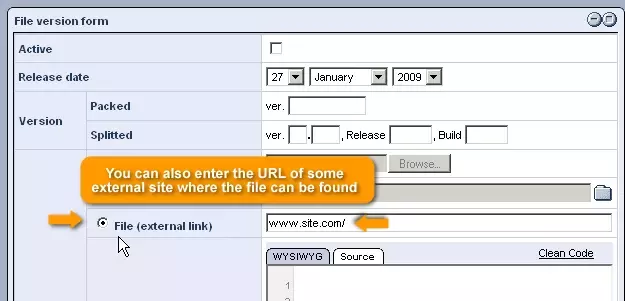
The third option, which can be selected by clicking on the button labeled "File (external link)," allows you to enter the URL of some external site where the file can be found.
Once you have specified the desired file, you can enter a description that will help you to distinguish it from other versions of the same file.
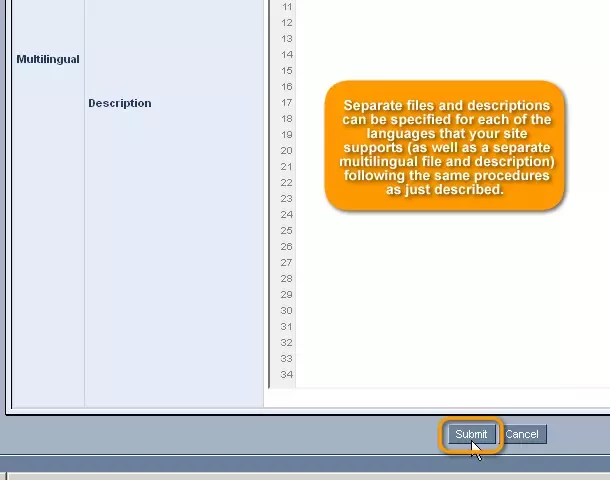
As a note, separate files and descriptions can be specified for each of the languages that your site supports (as well as a separate multilingual file and description) following the same procedures as just described.
Once you have finished specifying the desired file(s) and description(s), simply click "Submit" at the bottom of the screen, and the file(s) will be added to the specified category.
Editing Files:In order to edit an existing file group or file version, there are two options. The first is to access the module's "Files" tab and click on the name or
The second is to access the module's "Categories" tab and click on the name of the category under which the desired file is located. Once clicked, you will be presented with the "Files" table on the right-hand side of the screen, where you can click on either the desired file's name or the
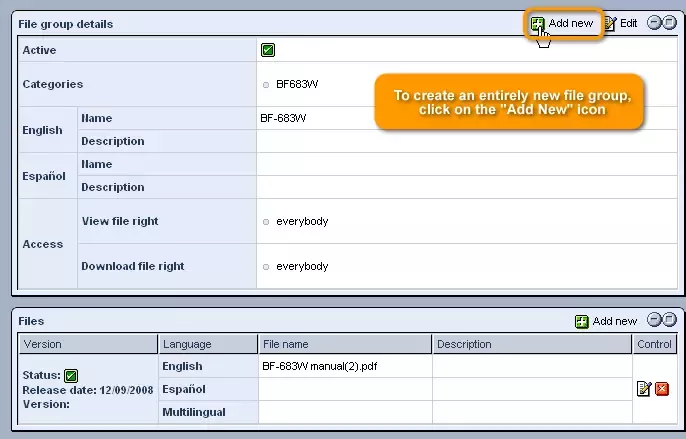
In either case, you will be presented with a window containing two tables, as pictured below.
In order to edit the details of the entire file group, click on the
Simply make the desired changes in the "File Group Form" that appears, and click "Save" at the bottom of the screen in order to have them applied.
Should you wish to create an entirely new file group, this can be done here as well, by clicking on the
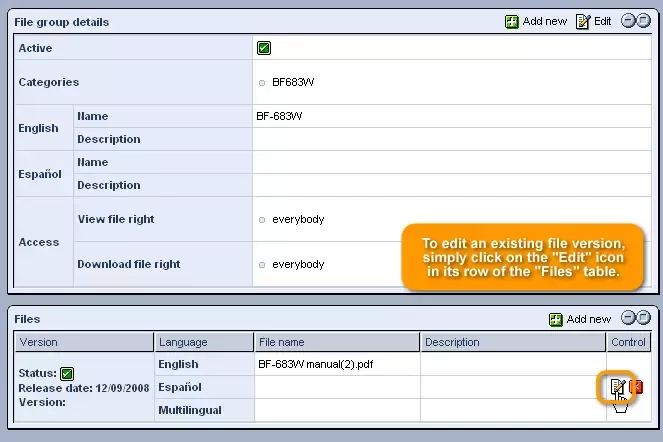
In order to edit an existing file version, simply click on the
You can then make the desired changes within the "Editing File Version..." form that appears, and click "Save" when you are done.
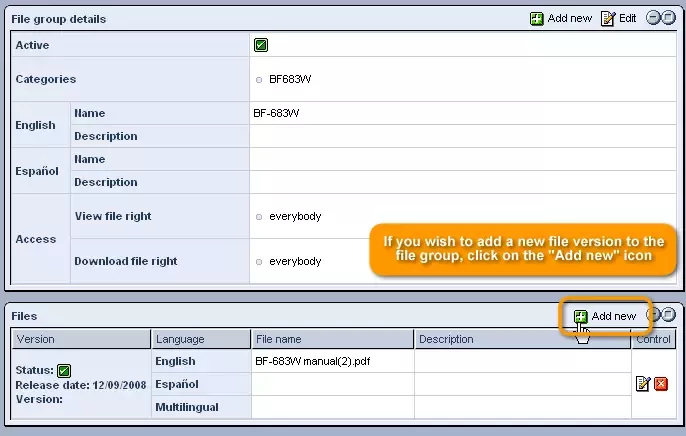
Should you wish to add a new file version to the file group, this can be done here as well, by simply clicking on the
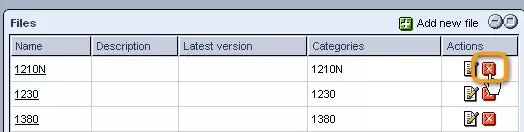
Deleting Files:In order to delete an existing file group or file version, there are two options. The first is to select the module's "Files" tab from the top of the administration screen.
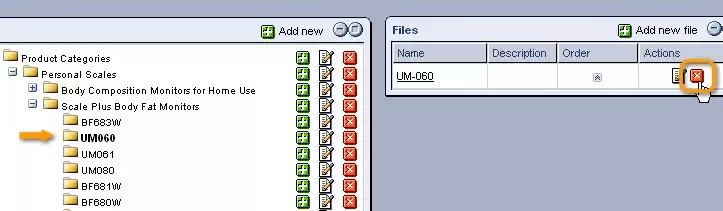
The second is to access the module's "Categories" tab and click on the name of the category under which the desired file is located in order to bring up a table listing all underlying files.
In either case, you can delete an entire file group by clicking on the
Should you wish to delete just a single version of the file, click on either the name or
Then, in the window that appears, you can delete the desired file version by clicking on the
|


Aspiresoft 2017 © All Rights Reserved. Privacy Policy