Call 1-888-670-1652
Spire CoreDB Connect Error (2002) Connection timed out
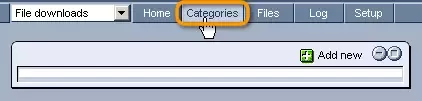
File CategoriesThe first step in using the File Downloads module to organize and place files on your website for users to download, is to create the hierarchy of categories which will house your files. Creating Categories:In order to begin creating your category tree, you should select the module's "Categories" tab from the top of the screen.
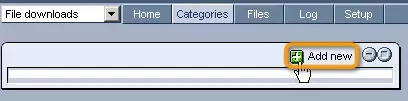
From here, in order to create a new category at the base level of the tree, click on the
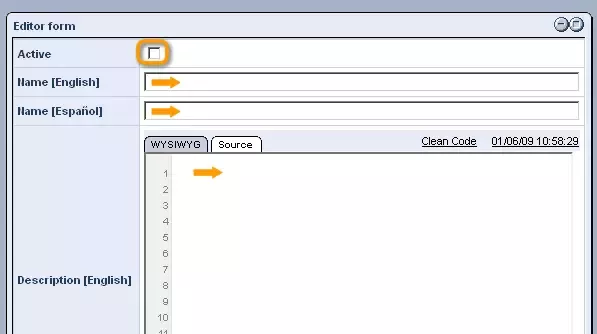
In the "Editor Form" that appears, simply check the box labeled "Active" and enter a name and description for the category into the provided fields (you can even enter a unique name and description for each language that your site supports).
Once you are done, click "Save" at the bottom of the screen, and your new category will appear at the base level of the hierarchy in the previously empty table on the left-hand side of the screen.
In order to create another category at the base level of the hierarchy, simply click on the same
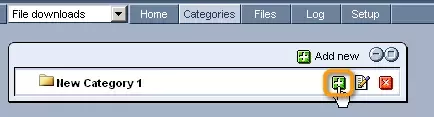
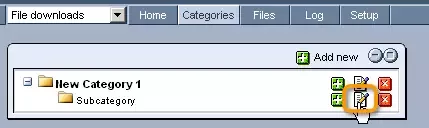
Should you wish to create a category underneath an existing category, however, you should click on the
Editing Categories:In case you would ever like to edit the name, description, or activity status of any of your categories, you can always click on the
Removing Categories:And should you ever decide to get rid of a category entirely, you can click on the
Category Files:By clicking on a category's actual name within the tree, you will open a table on the right-hand side of the screen labeled "Files."
Here you can view all of the files that have been placed under the selected category, as well as edit or remove them by clicking on the appropriate icons within their rows (
You can also add new files to the category by clicking on the
For more specific information on how to complete this form and add files to your categories, which can also be done in the module's "Files" tab, please see our "Files" section. |


Aspiresoft 2017 © All Rights Reserved. Privacy Policy