The "Webinar" tab of the News & Events module allows you to create customized entries advertising upcoming webinars (online conferences or presentations) to be displayed on your website.

Creating Webinar Entries:
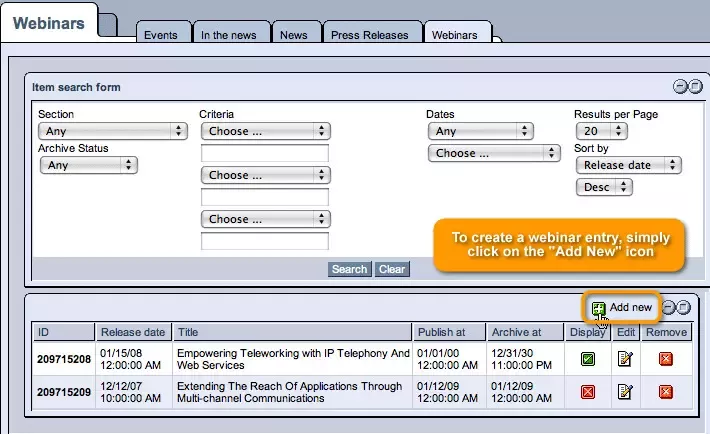
In order to create a webinar entry, simply click on the "Add New" icon in the upper right-hand corner of the table.
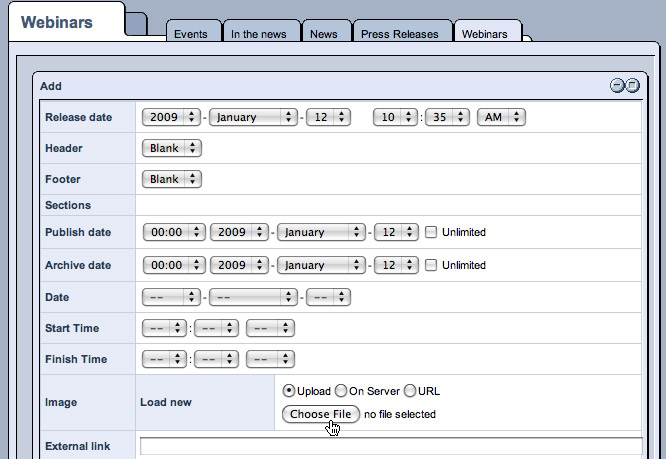
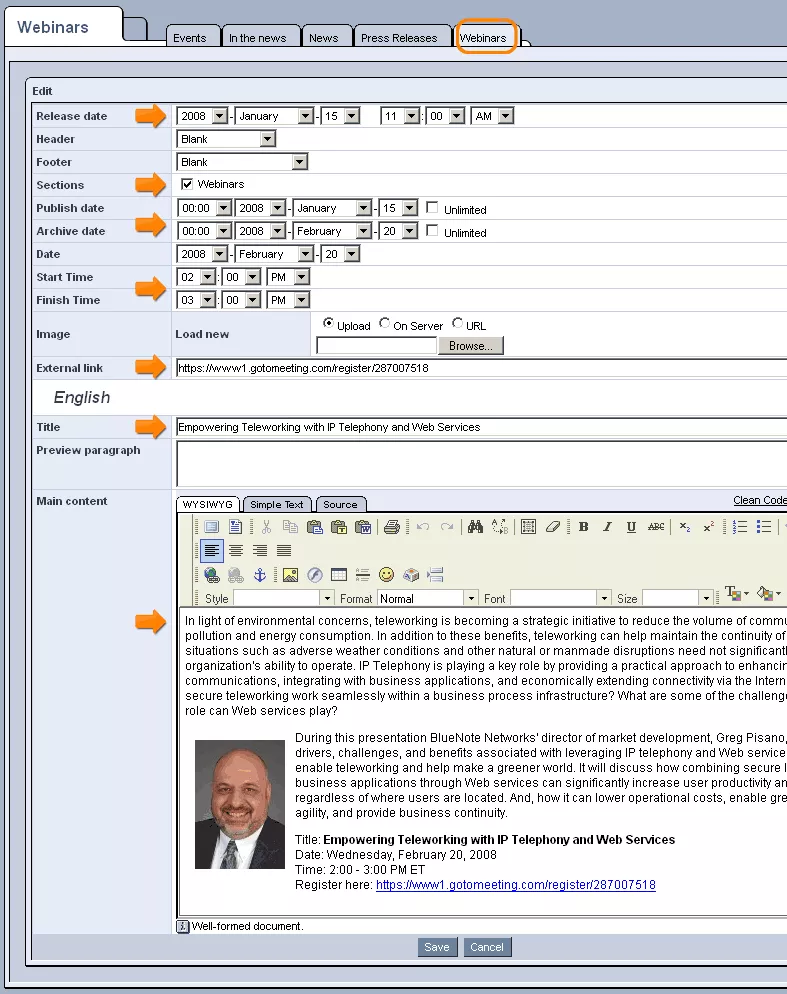
In the form that appears, you can fill out the provided fields as follows:
Release Date: In this field, you can use the drop-down menus to specify the date and time at which you would like the webinar's entry to appear as having been created (by default, this field will be set to the current date and time).
Header and Footer: In these two fields, you can select particular headers and footers (the options for which are determined in the module's
"Setup") that you would like to be used in the display of the webinar entry on your website.
Sections: In this field, you can classify the webinar entry by selecting a particular section to include it in (the available sections can be customized and set in the module's
"Setup").
Publish Date and Archive Date: Should you wish, you can use these fields to specify the duration for which the webinar will be advertised on your website. Simply use the drop-down menus to select the dates on which you would like the webinar entry to be published and removed (sent to the archive). Otherwise, you can select "Unlimited," so that the entry will be displayed on your website for an unlimited amount of time.
Date: This field allows you to specify the date of the actual webinar.
Start Time and Finish Time: These fields allow you to specify the exact times at which the webinar will begin and end.
Image: This field allows you to include an image in the display of your webinar entry. By clicking on the appropriate option, you can either upload it from your hard-drive (using the "Browse" button), upload it from the server, or enter a URL where the image can be found.

External Link: This field allows you to include a link to an external page that could provide users with more information about the webinar in question.
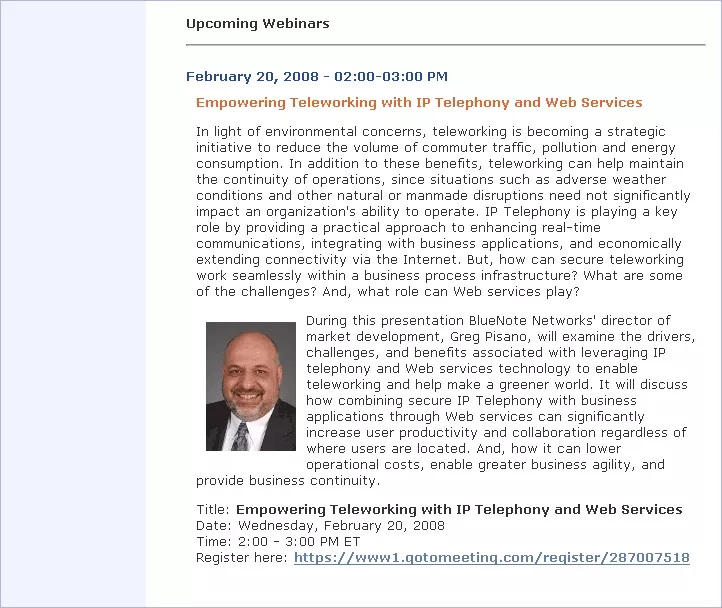
Title: With this field, you can create an original, descriptive title (for each of the languages that your site supports), which will appear in the feed on your website that displays upcoming webinars, and at the top of the actual webinar entry, when selected.
Preview Paragraph: With this field, you can create a short summary of the webinar (for each of the languages that your site supports), which will act as a sort of teaser for users to see in the feed on your website that displays upcoming webinars before selecting to read the entire entry.
Main Content: With this field, you can compose the actual body of the webinar entry (for each of the languages that your site supports), with full access to and the ability to switch between your choice of the site's innovative content editors.
Once you have completed the form as desired, simply click "Save" at the bottom of the screen, and the webinar entry will be created.
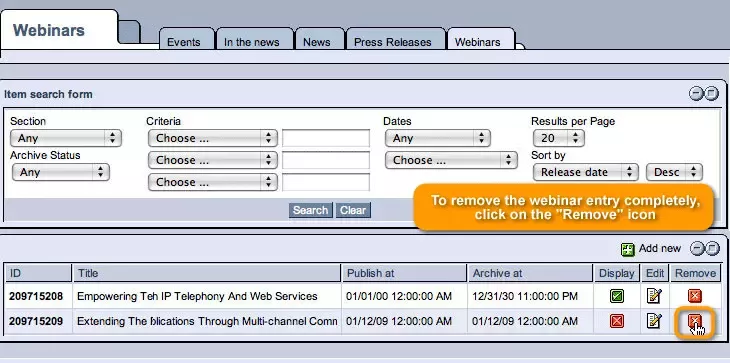
Modifying/Removing Webinar Entries:
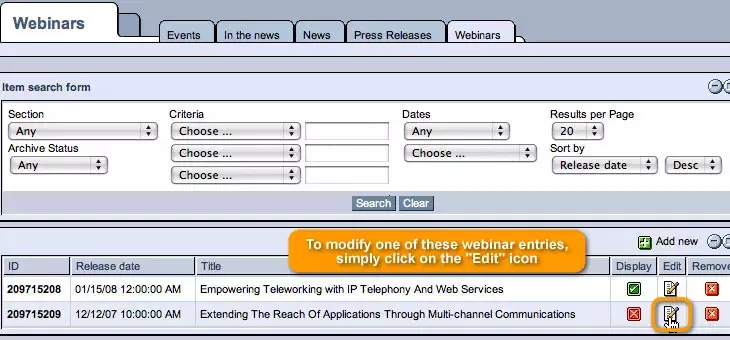
In order to modify one of these webinar entries, simply click on the "Edit" icon located in the desired entry's row of the table.
You will then be able to alter the information entered upon the creation of the webinar entry as desired.
Once you have modified the information, just click "Save," and the entry will be updated to reflect the changes made.
Should you wish to remove the webinar entry completely, click on the "Remove" icon in its row of the table, and it will promptly be deleted from the system.